How to quilt with a sewing machine: a complete beginner’s guide
If you have never made a quilt before, the idea of turning dozens of pieces of fabric into one finished project can seem complicated. The good news is that you do not need years of sewing experience or a professional quilting studio to get started. With the right preparation, a basic machine, and a simple plan, beginners can learn to quilt successfully at home.
Many modern sewing machines are capable of handling the essential stages of quilting, from joining fabric pieces to stitching the finished layers together. The machine you already own may even be suitable for your first project.
This guide explains the quilting process from beginning to end and shows you what to look for when comparing sewing machines for quilting. It also explains why some features are useful for beginners and why a machine designed for leather is not necessarily the right choice for quilting.
Quilting and Sewing: What Is the Difference?
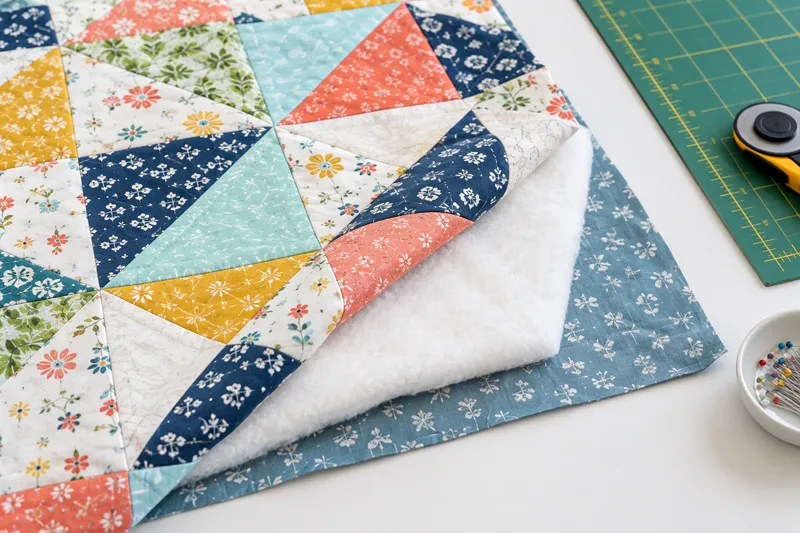
Quilting is more than simply sewing pieces of fabric together. A finished quilt normally consists of three layers: a decorative top, a layer of batting, and a backing.
The first stage is called piecing. This is when individual fabric pieces are sewn together to create the quilt top.
The second stage is machine quilting. The completed top, batting, and backing are joined with lines or patterns of stitching.
Finally, the edges are finished with binding.
Understanding these three stages makes quilting much less intimidating. You can think of the process as building the quilt first and then using your sewing machine to secure all of its layers.
Do You Need a Special Quilting Machine?
No. A dedicated quilting machine can provide additional workspace and specialized features, but a standard domestic machine can be enough for many beginner projects.
This is particularly useful if you are looking at sewing machines for beginners and do not want to purchase an expensive machine immediately.
The important question is not simply whether a machine is advertised as a quilting machine. Instead, consider whether it gives you enough control to work accurately with multiple layers of fabric.
Useful features include:
- A dependable straight stitch
- Adjustable stitch length
- Speed control
- Needle-up/needle-down positioning
- A suitable work area
- A walking foot or compatible walking foot
- A quarter-inch foot for patchwork
- A free-motion or darning foot
- Drop-feed capability
- Easy-to-use controls
Current quilting guides similarly emphasize the practical importance of walking feet, quarter-inch seams, and feed-dog control rather than simply counting the number of decorative stitches a machine offers.
Start With the Right Quilt Pattern
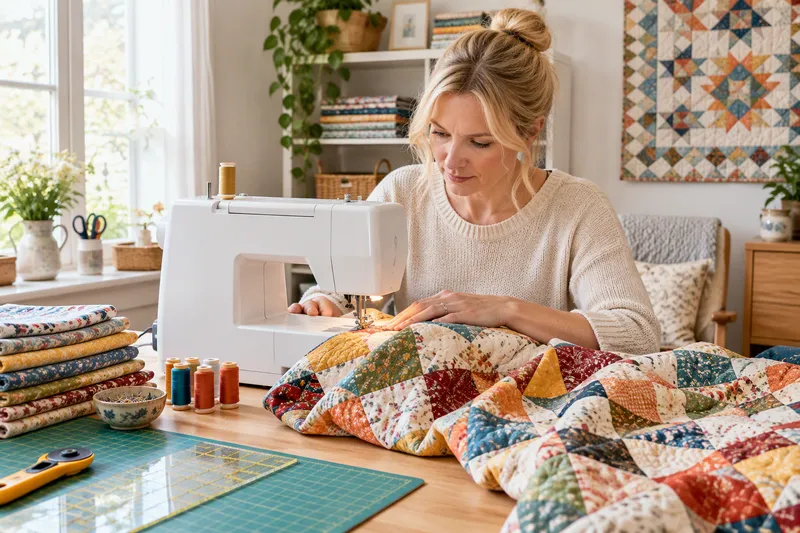
Your first quilt pattern can determine how easy or frustrating the project becomes.
For a first quilt, choose a design containing simple squares, rectangles, or other straight-edged pieces. These shapes are easier to measure and sew than complicated curves or tiny pieces.
Before cutting any fabric, read the entire pattern.
Pay particular attention to:
- Finished quilt dimensions
- Number of fabric pieces
- Seam allowance
- Cutting instructions
- Block arrangement
- Fabric requirements
- Finishing instructions
Do not assume that a pattern is easy simply because the finished quilt looks simple. A design containing many small pieces can require considerably more precision than one containing larger blocks.
A beginner-friendly design gives you an opportunity to practice accuracy before moving to more advanced quilting techniques.
Choose Fabric That Is Easy to Control
Cotton quilting fabric is a practical choice for a first project because it is generally stable and available in a huge range of colors and patterns.
Try to use fabrics with similar weights. Mixing fabrics with very different thicknesses or amounts of stretch can make accurate piecing more difficult.
Before cutting, prepare your fabric according to its care instructions. Pressing the fabric is especially important because folds can affect measurements.
You can also organize your fabrics into groups before beginning. For example, separate light, medium, and dark fabrics so you can easily see how the different pieces will work together.
The Tools You Need
You do not need a professional workshop to begin quilting.
A basic setup can include:
- Sewing machine
- Quilting cotton
- Thread
- Fabric scissors
- Rotary cutter
- Cutting mat
- Quilting ruler
- Iron
- Batting
- Backing fabric
- Pins or quilting clips
- Quilt pattern
A rotary cutter and ruler are particularly helpful when cutting multiple pieces to exactly the same dimensions.
Your machine should also have a suitable needle. Check the machine manufacturer’s recommendations and choose a needle appropriate for the fabric and thread you are using.
Step 1: Make a Test Piece
Before beginning the actual quilt, make a small test section.
This simple step can save you considerable frustration.
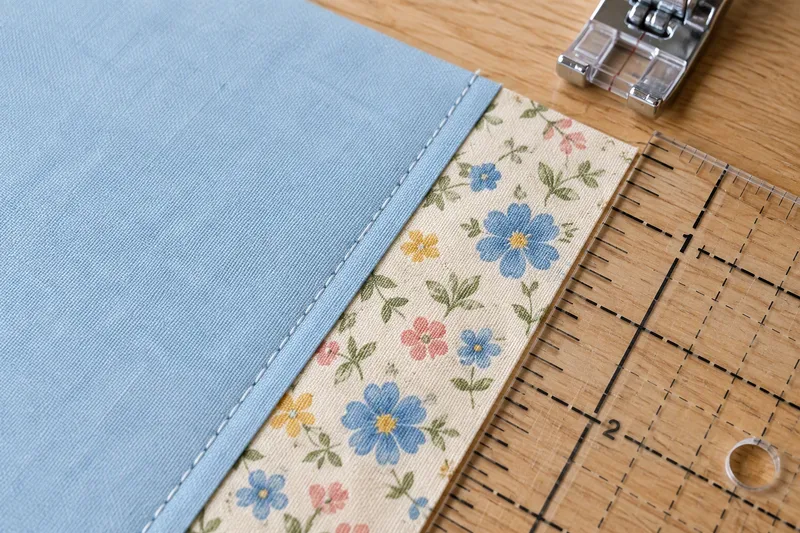
Use two pieces of scrap fabric and sew them together. Check whether the seam is straight and whether the fabric is feeding smoothly.
If you are using a quarter-inch seam, practice until you can maintain the same measurement consistently.
This is especially important because small differences in seam allowance can accumulate. A block made from several pieces may end up noticeably different in size if every seam is slightly too wide or too narrow.
Step 2: Build the Quilt Top
Once you are comfortable with your machine, begin sewing the pieces specified by your pattern.
Work in small sections instead of trying to assemble the entire quilt at once.
After completing each section, press the seams. Depending on your pattern, seams may be pressed open or toward one side.
Then join the sections together.
Keep checking the pattern as you work. If your design has a particular color or directional arrangement, placing the pieces in the wrong order can be surprisingly easy.
One useful technique is to lay the pieces out on a table or floor before sewing them. This lets you see the complete arrangement before committing to the seams.
Step 3: Prepare the Quilt Sandwich
Once the quilt top is finished, you are ready to combine the three layers.
The quilt sandwich consists of:
Backing → batting → quilt top
Lay the backing flat and place the batting over it. Position the quilt top over the batting.
The layers need to remain together while you sew.
You can use quilting pins, safety pins, or suitable clips to secure them. Take care to smooth the fabric so that large wrinkles do not become trapped between the layers.
The larger the quilt, the more important fabric management becomes. A small project is considerably easier to handle under a domestic machine than a large bed-sized quilt.
Step 4: Choose Your Quilting Technique
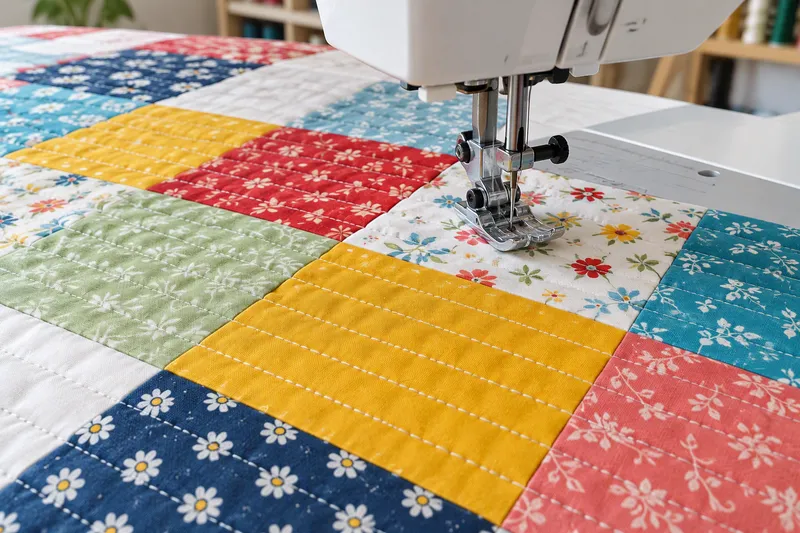
There are two useful approaches for beginners: straight-line quilting and free-motion quilting.
Straight-Line Quilting
Straight-line quilting is a practical place to begin.
You sew rows of stitching across the quilt, either parallel to one another or in a simple grid.
A walking foot can be extremely useful here. It helps feed the upper layers along with the machine’s lower feed system, reducing the tendency of the quilt layers to shift.
Many sewing machines for quilting can use a walking foot either as an included accessory or as an optional attachment.
Start slowly. Allow the machine to feed the quilt rather than pulling the material through the needle.
Free-Motion Quilting
Free-motion quilting gives you considerably more freedom.
With the appropriate foot and machine setup, you can move the quilt in different directions while creating curves, loops, waves, or other designs.
This technique requires more practice than straight-line quilting.
If you want to try free-motion work, practice first on a small fabric sandwich. Learn how the machine responds to your movements before attempting a complicated design on your finished quilt.
Step 5: Manage a Large Quilt
One of the biggest challenges when quilting on a domestic machine is not necessarily the stitching itself. It is managing the amount of fabric surrounding the needle.
As the quilt becomes larger, more material needs to pass through the relatively small space of a home sewing machine.
This is why workspace matters when comparing sewing machines for quilting.
An extension table can provide additional support. You should also arrange your sewing area so that the quilt does not hang heavily from one side of the machine.
Roll or fold sections of the quilt when appropriate, keeping the area immediately around the needle manageable.
Take regular breaks. Trying to force a large quilt through the machine quickly can lead to uneven stitching and unnecessary frustration.
Step 6: Finish the Quilt
After the quilting stitches have been completed, inspect the entire project.
Check for:
- Loose threads
- Missed sections
- Uneven edges
- Unwanted folds
- Loose seams
Trim the edges of the quilt so they are even.
The final step is usually binding. Binding covers the raw edges and creates a neat border around the finished quilt.
Corners require particular attention. Work slowly and press the binding carefully as you go.
What Features Should Beginners Look For?
If you are shopping for sewing machines for beginners specifically because you want to learn quilting, concentrate on useful functions rather than the number of decorative stitches.
A speed-control function can help beginners sew more confidently.
A needle-down function is useful when turning fabric because the needle remains in the material while you reposition the quilt.
A quarter-inch foot can help with accurate patchwork.
A walking foot is valuable for straight-line quilting.
Drop-feed capability is useful if you eventually want to explore free-motion quilting.
And sufficient workspace can make larger projects easier to handle.
These features can be more relevant to quilting than having dozens of decorative stitches that you may rarely use.
What About Sewing Machines for Leather?
You may also come across
while researching heavy-duty sewing equipment.
It is important to understand that quilting and leather sewing place different demands on a machine.
Leather does not behave like woven quilting cotton. It can be dense, slippery, and difficult to feed, and the needle leaves a permanent hole in the material.
As a result, sewing machines that sew leather may have features designed specifically for handling heavier materials.
If you are researching sewing machines for leather work, look at the manufacturer’s recommended material thickness and compatible feet and needles rather than assuming that any heavy-duty domestic machine will handle every type of leather.
A machine suitable for light leather projects is not necessarily suitable for thick hides or demanding leather construction.
For a person whose primary goal is quilting, features such as fabric control, workspace, walking-foot compatibility, and stitch consistency are more directly relevant.
Common Beginner Quilting Problems
Even good preparation cannot eliminate every mistake.
If your fabric puckers, check your thread tension, needle, stitch settings, and fabric feeding.
If your quilt layers move apart, review your basting method and consider using a walking foot for straight-line quilting.
If your blocks do not match, check your cutting measurements and seam allowance.
If the machine struggles with a bulky section, slow down and avoid forcing the fabric.
Most importantly, practice on scraps before making adjustments to your finished quilt.
How to Improve Your Quilting Skills
Your first quilt is primarily a learning project.
Instead of trying to make a perfect piece immediately, use the project to understand how your machine behaves.
Practice:
- Straight stitching
- Quarter-inch seams
- Matching fabric corners
- Pressing seams
- Creating quilt sandwiches
- Straight-line quilting
- Binding
Once these techniques become comfortable, you can experiment with more advanced designs.
You may eventually want a larger machine, specialized quilting accessories, or a machine with more throat space. Your equipment can evolve as your projects become larger and more ambitious.
Final Thoughts
Learning to quilt with a sewing machine is much more approachable when you divide the process into manageable stages.
Start with a simple quilt pattern, choose stable fabric, practice your seams, and learn how your machine handles multiple layers before beginning a large project.
When comparing sewing machines for quilting, look beyond stitch-count marketing. Consider the features that actually affect quilting: fabric feeding, workspace, speed control, needle positioning, walking-foot compatibility, and support for free-motion techniques.
Likewise, sewing machines for beginners should be judged by how easily you can control them and develop your skills.
If you are also interested in leather projects, keep in mind that sewing machines for leather, sewing machines for heavy duty, and sewing machines for leather work may have different requirements from machines intended primarily for quilting.
The best way to learn is to begin with a small project. Once you have completed one quilt, you will have a much better understanding of what features matter to you and which techniques you want to explore next.